


Interior house painting · Orange County, NY
Interior painting for Orange County homes
Plan walls, ceilings, trim and doors together, with repairs and finish choices matched to how each room is used.

Our interior painting service
An interior repaint starts with the surface, not the color. A sound wall with ordinary scuffs needs a different preparation plan from peeling bathroom paint, a stained ceiling, or cracked plaster. Point out those trouble spots during the walkthrough so the estimate separates painting from the repairs underneath it.
List the rooms and the surfaces within each room: walls, ceilings, baseboards, window trim, doors, closets and built-ins. “Paint the bedroom” can mean very different things in two estimates. Cabinet doors need a separate preparation and coating plan; use the cabinet refinishing page for that project.
Start with the condition you have
Cracks, dents or visible patches
Describe whether a crack is new, widening or repeatedly returning. Small surface repairs differ from loose plaster, moving joints or broad skim-coating. Painting alone will not stabilize a moving surface.
Stains, peeling or recurring spots
Identify the leak, condensation or contamination first. A stain-blocking primer is selected after the cause is corrected and the surface is dry; primer is not a leak repair.
Sound paint that needs a refresh
Check adhesion and cleanliness, then compare a like-for-like repaint with a color or sheen change. A dramatic color change and glossy existing trim may need different preparation.
Choose a finish by room and surface
Flat or matte finishes can soften the appearance of uneven walls and ceilings. Eggshell or satin may suit walls that need more frequent cleaning. Trim and doors often need a harder, washable finish. Names and sheen levels vary by product, so compare the actual samples rather than relying on the label alone.
In a bathroom or kitchen, discuss ventilation, cleaning and moisture exposure before picking a finish. A coating cannot correct persistent dampness. For an older wall, ask how the proposed sheen will reveal patches when daylight or a bedside lamp strikes it from the side.
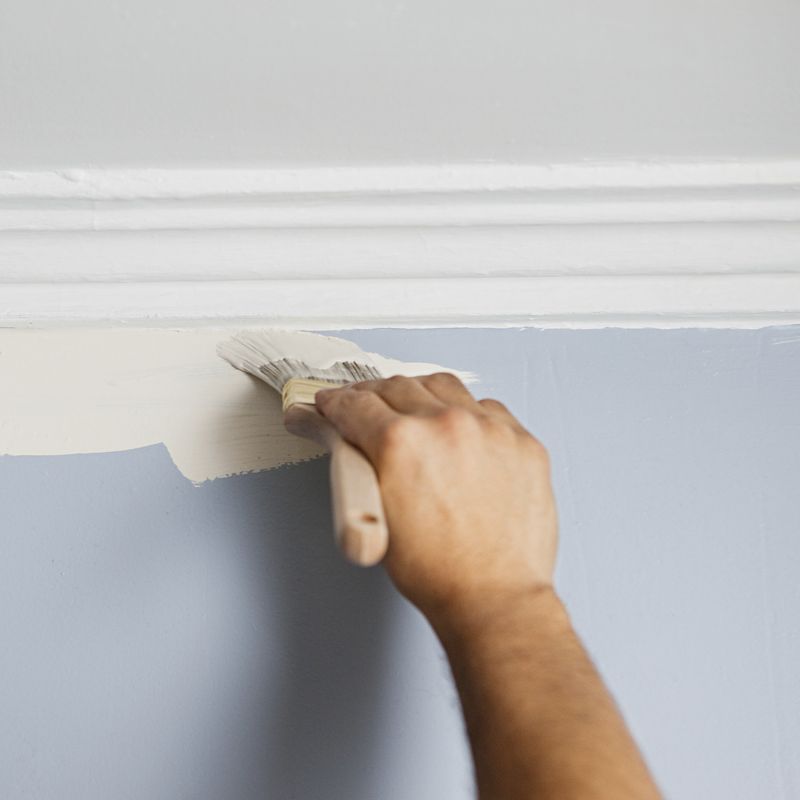
Decide between spot repairs and a smoother wall
Filling nail holes and a few dents is different from smoothing an entire wall. Patches can remain visible through new paint when the old wall has roller texture, uneven plaster or strong side lighting. Ask which defects the proposed preparation is intended to remove, and review a sample area if the finish standard matters.
Wallpaper adds another decision: test its bond and the wall underneath before choosing removal or a preparation system over existing paper. Loose seams, bubbles and damaged backing need attention first. Put wallpaper removal, adhesive cleanup and any resulting wall repair on separate estimate lines.
Prepare an occupied home
Clear small valuables, wall art and fragile objects. Agree on who moves large furniture, removes window treatments and disconnects wall-mounted equipment. Plan a clear route for the crew, a place for pets and the order of rooms so work areas can be kept separate from daily life.
Tell the painter about rooms needed for sleep or work, and discuss ventilation and product instructions before scheduling their return to use. Low odor does not mean a room is ready immediately. Dry-to-touch, recoat time and full cure are different milestones.
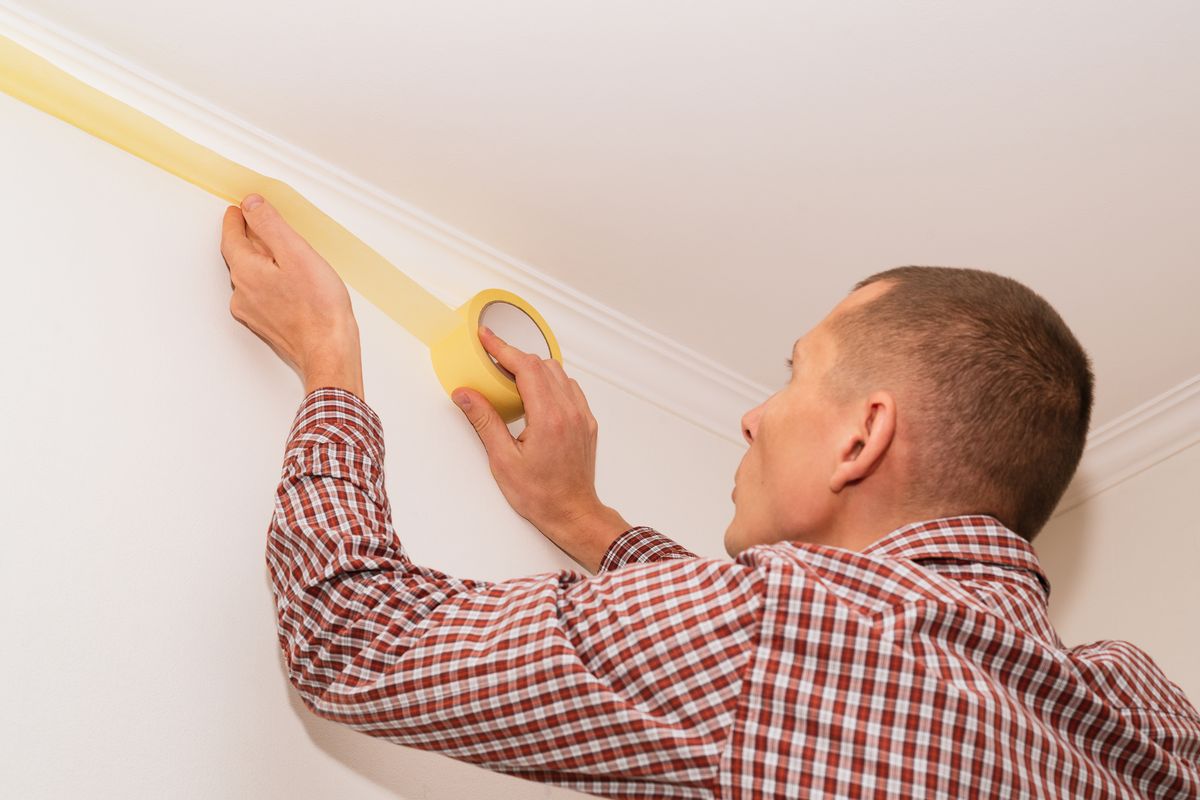
Know the limits before work starts
Paint can change color and protect a prepared surface; it will not repair an active leak, structural movement or underlying mold. If a home was built before 1978, discuss lead-safe assessment and preparation before sanding or scraping. Ask for the appropriate certification rather than assuming ordinary painting preparation covers it.
An exact color match does not guarantee an invisible touch-up. Existing paint changes with age, cleaning and light, and a different sheen can show as a patch. Repainting to a corner or across the whole wall may give a more consistent result.
Check the finished room in its normal light
Walk the room in daylight and with the lights normally used there. Review coverage, cut lines, repaired areas and agreed surfaces together. Ask for the product, color and sheen record plus cleaning and cure instructions before replacing decorations or washing the walls.
For older painted surfaces: EPA guidance for homeowners planning lead-safe renovation.
What to confirm in your written estimate
Use this checklist to compare like-for-like scopes and agree on responsibilities before work starts.
- Rooms and exact surfaces to be painted
- Furniture moving and protection responsibilities
- Small repairs versus full-wall smoothing
- Primer, finish product, sheen and color
- Coat plan and approach to color changes
- Closets, doors and trim listed separately
- Room sequence, access and drying periods
- Cleanup, walkthrough and product records
How an interior painting project runs
Assess each room
Review wall condition, ceiling height, trim, stains and access. Separate unresolved damage from cosmetic preparation.
Approve scope and samples
Confirm the surfaces, repair standard, color and sheen. View a sample in the room’s own light.
Protect, repair and coat
Set up protection, complete agreed preparation and follow the selected products’ application and drying instructions.
Walk through and plan care
Check the agreed scope, record touch-ups and follow cure guidance before cleaning or hanging items against fresh paint.
Interior Painting color & finish ideas


Interior painting questions and answers
Should ceilings and trim be painted with the walls?
Only if they are in the agreed scope. New wall color can make an older ceiling or trim look different, so review them together before deciding. Separate lines make it easier to phase the work.
Can you paint over water stains?
The leak must be addressed and the material dry and sound first. Preparation may include a suitable stain-blocking primer, but damaged plaster or drywall may need repair or replacement before paint.
Will new paint hide patch outlines?
Not always. Texture and sheen differences can remain visible, especially in side lighting. Ask whether spot repair is enough or whether a larger area needs smoothing and priming.
How should I compare room-by-room estimates?
Compare the same surfaces, preparation standard, products, coats and protection work. Ceiling height, stair access, wallpaper removal and plaster repairs can matter more than room count.
When can I put furniture back and wash the walls?
Follow the specific product’s cure instructions and the project handover advice. A surface that feels dry may still mark if furniture presses against it or if it is scrubbed too soon.
What should I ask about an older home?
Share the approximate building age and previous coating or repair history. For pre-1978 homes, ask about lead-safe work practices and appropriate contractor certification before painted surfaces are disturbed.

Discuss your interior painting project
Describe the surfaces, their condition and your preferred timing. Confirm assessment arrangements and the proposed scope directly.
Phones answered Monday – Friday 7:30 AM – 6:00 PM · Saturday 8:00 AM – 2:00 PM